|
Lets face it, the older we get the more
uncomfortable our cars are to drive on long trips. This
can be remedied though, the C62 Manual seat adjuster was
a factory option on these cars, and if you are lucky enough
to find one they are easy to install. In addition to sliding
back and forth like the normal seat tracks, you can also
raise or lower the backs and fronts of the seats with these.
If you are tall you can slam it all the way to the floor
for more headroom while shorter drivers can raise it up
enough to actually see over the hood. If you get kicked
out of the house and need to sleep in the car they recline.
Who could ask for more?
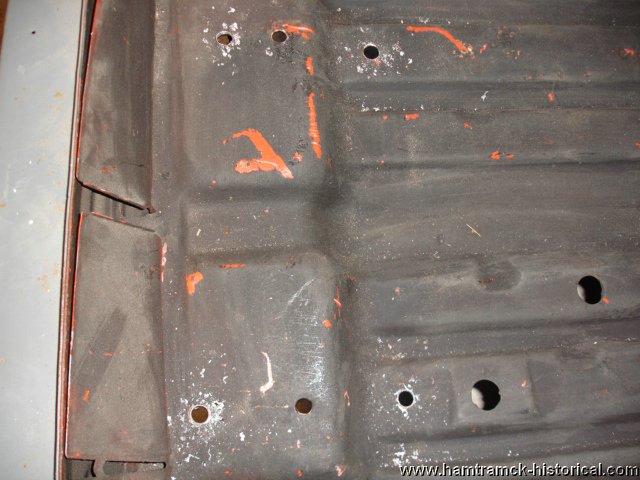
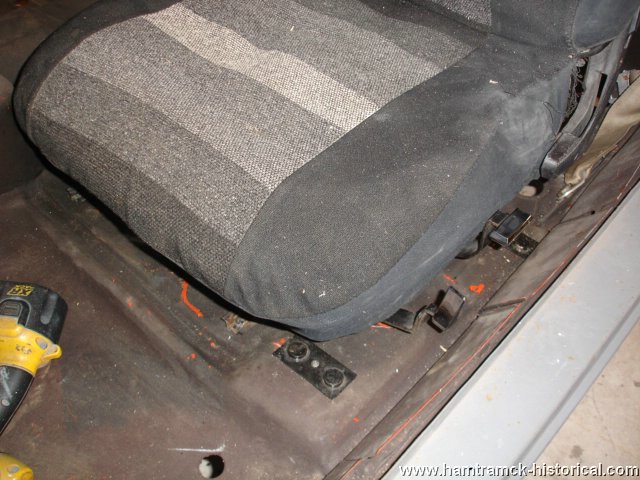
We will be adding this seat adjuster to a
1970 Challenger T/A, here is a photo of the floor that we
will be drilling holes in very soon.
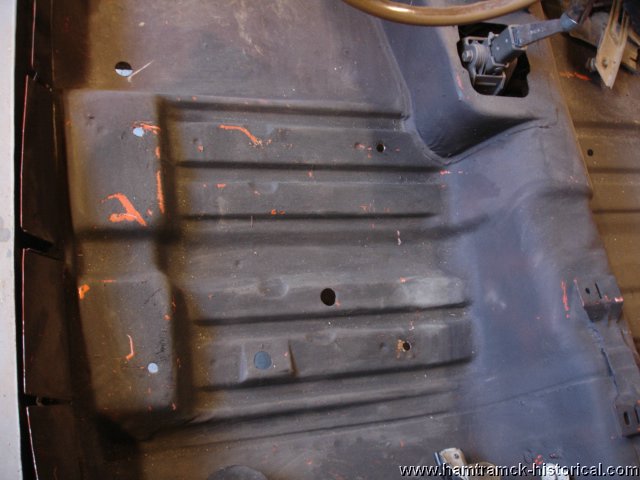
The floors have dimples on where to drill
the new holes, but it is always a good idea to mock these
up before doing any drilling. The original holes for the
inboard seat track are reused.

These add a bit of weight to the car and the
springs are pretty strong. Due to these factors the seat
adjuster uses special under floor braces and mounting hardware.
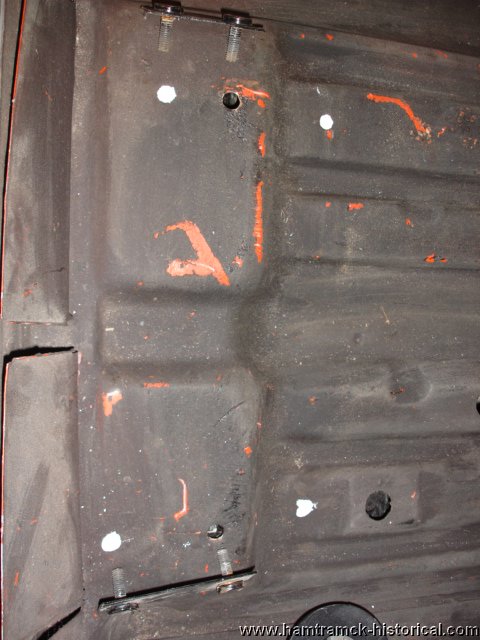
Note the four dimples marked in white in this photo, they
need to be drilled out, use a ½” drill bit.
Note the brackets that will mount in the new holes as well.
They are different too, the short one goes in front and
the longer one at the rear. Make sure you use some type
of rust proofing on the edges of the new holes! These two
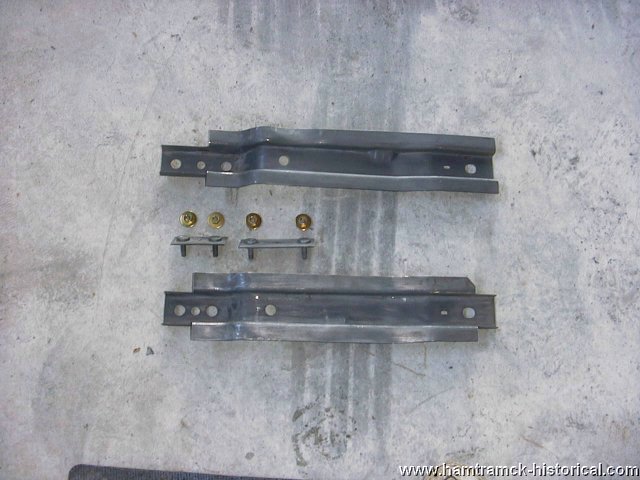
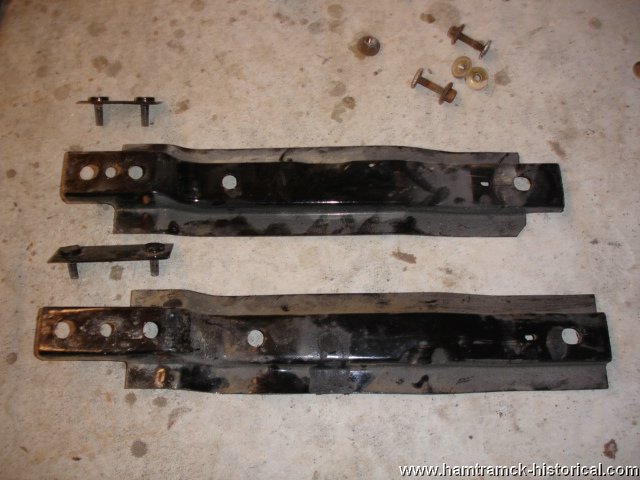
photos show a used set and a new reproduction set from Harm’s
Automotive.
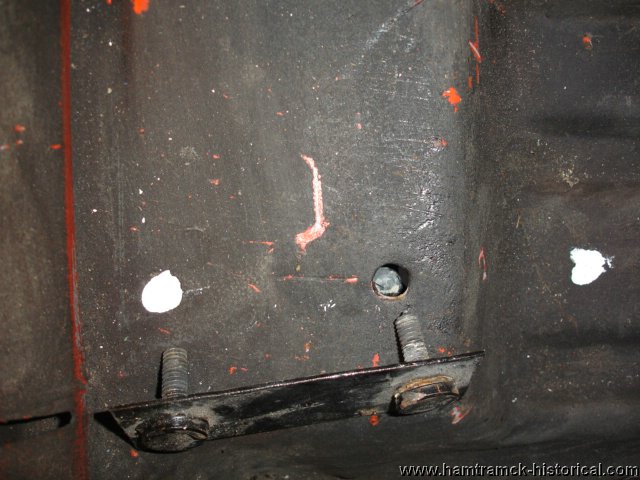
These two close up photos show the attaching
brackets, one stud will go into the old seat track bolt
hole and the other stud will go into one of the new holes.

Here is a photo showing the under floor braces
and the associated attaching hardware.
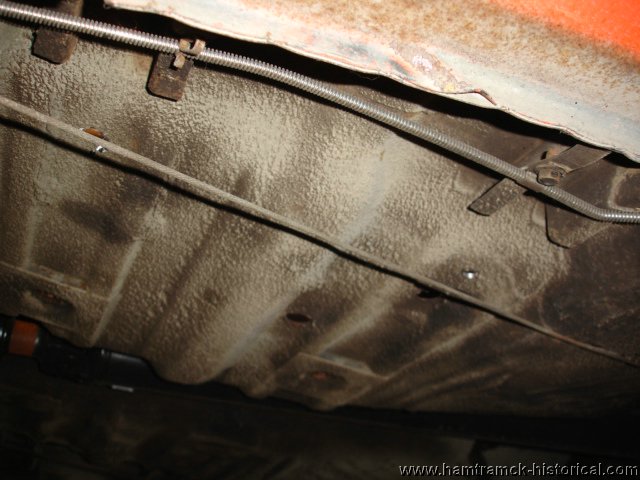
Once you are sure you know what you are doing,
drill through the four dimples.
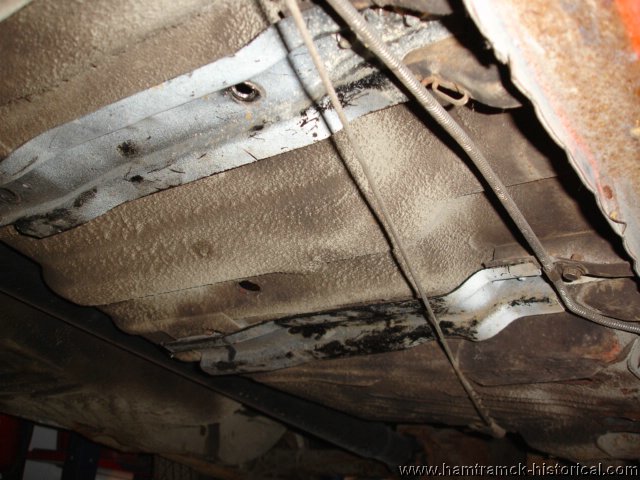
Here is a view from under the car showing
the new holes.
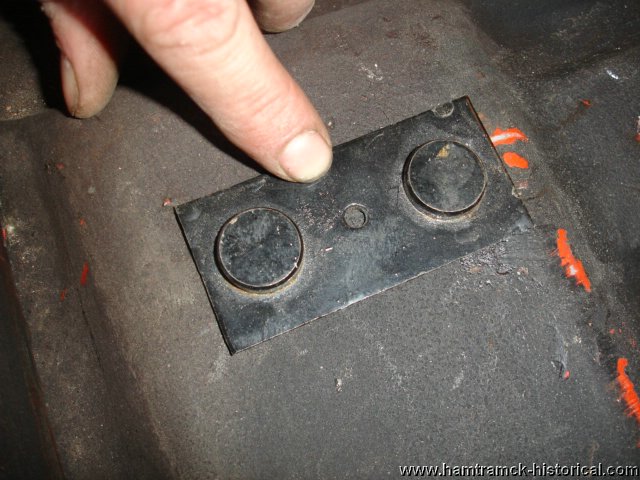
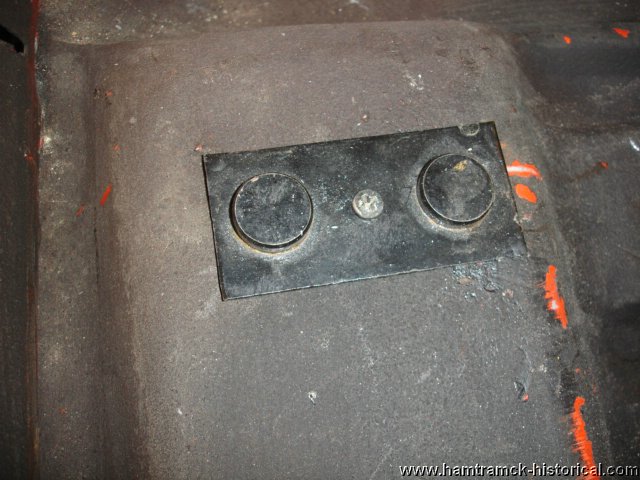
Now it is time to install the brackets that
hold the larger braces in. Drop them into the holes. See
the small hole in the center? That is for a sheet metal
screw to secure the bracket. In a minute you will be under
the car installing the under floor braces and the screw
keeps the bracket in place while you thread the nuts on
from underneath the car. The photos show the front bracket,
do this again for the rear bracket.
Now you can install the under floor braces,
they slide into the old outer seat reinforcing brackets
then push them up to the floor and install the nuts on the
studs and tighten. Here is how they should look once you
have completed this step.
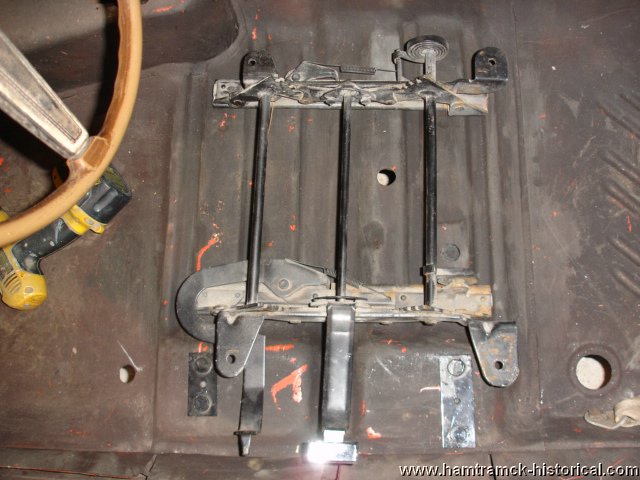
Time for a test fit, the 6-way adjust drops
right in!
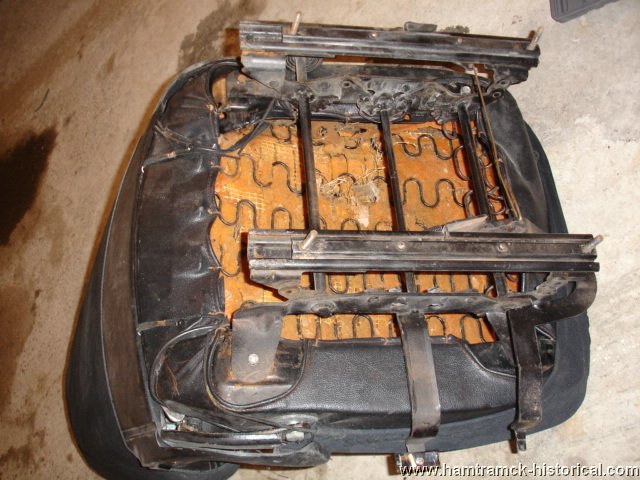
Now it is time to remove the original seat
tracks if you have not done so already. The 6-way bracket
bolts to the seat frame using the same bolts and holes as
the original tracks.

Bolt the seat into the car and you are done!
Easy as pie, and much more comfortable to drive from now
on.
More manual seat information;
If your adjusters chrome knobs are missing,
broken or too beat up to reuse, they are available from
Tonys Parts. Call 302-398-0821 or online at Tony's
Parts
Reproduction under floor reinforcement brackets
and mounting hardware kit are available through Restorations
by Rick Kreuziger online at Restorations
by Rick Kreuziger
If you have a Mopar 6-way seat adjuster and
you need to know what model it fits, visit this page of
Nick Taylors site for text and photos. Nick's
Garage
|