Home
Register
T/A Registry
Archives
Articles
Library
Found
Events
Links
Services
VIN Fraud
What's New
Donate
Contact
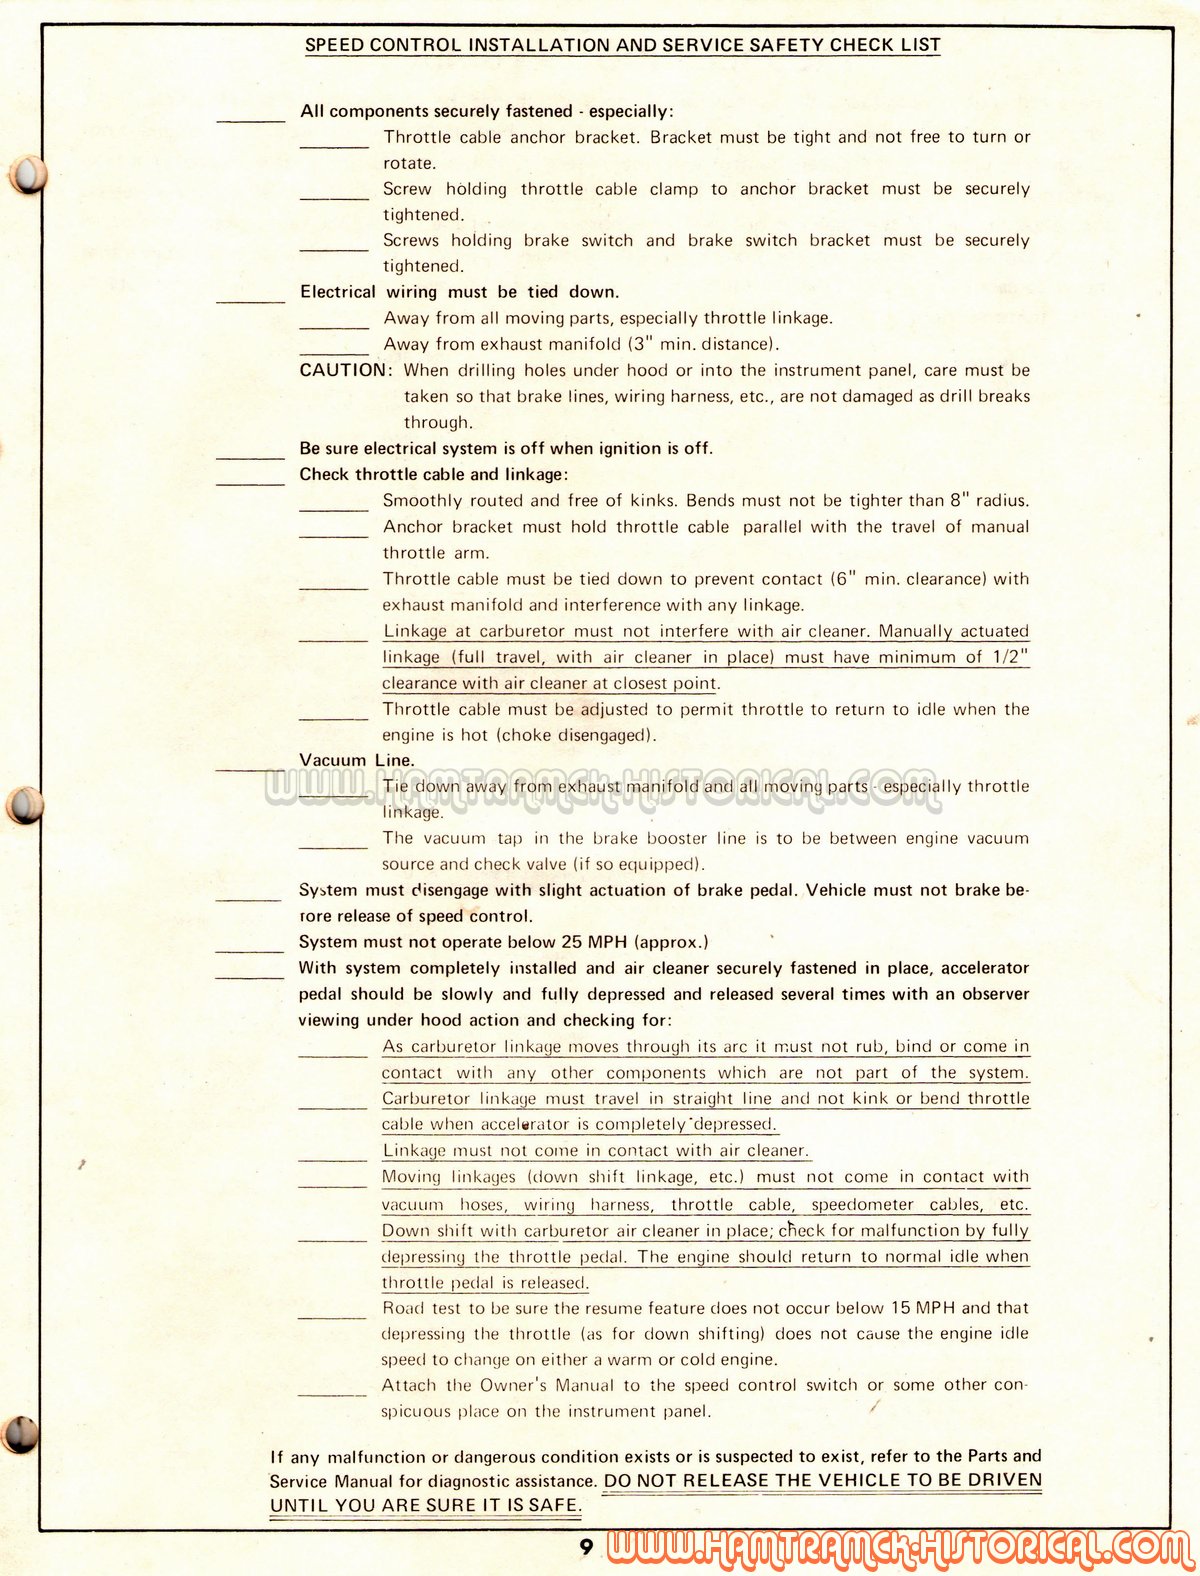
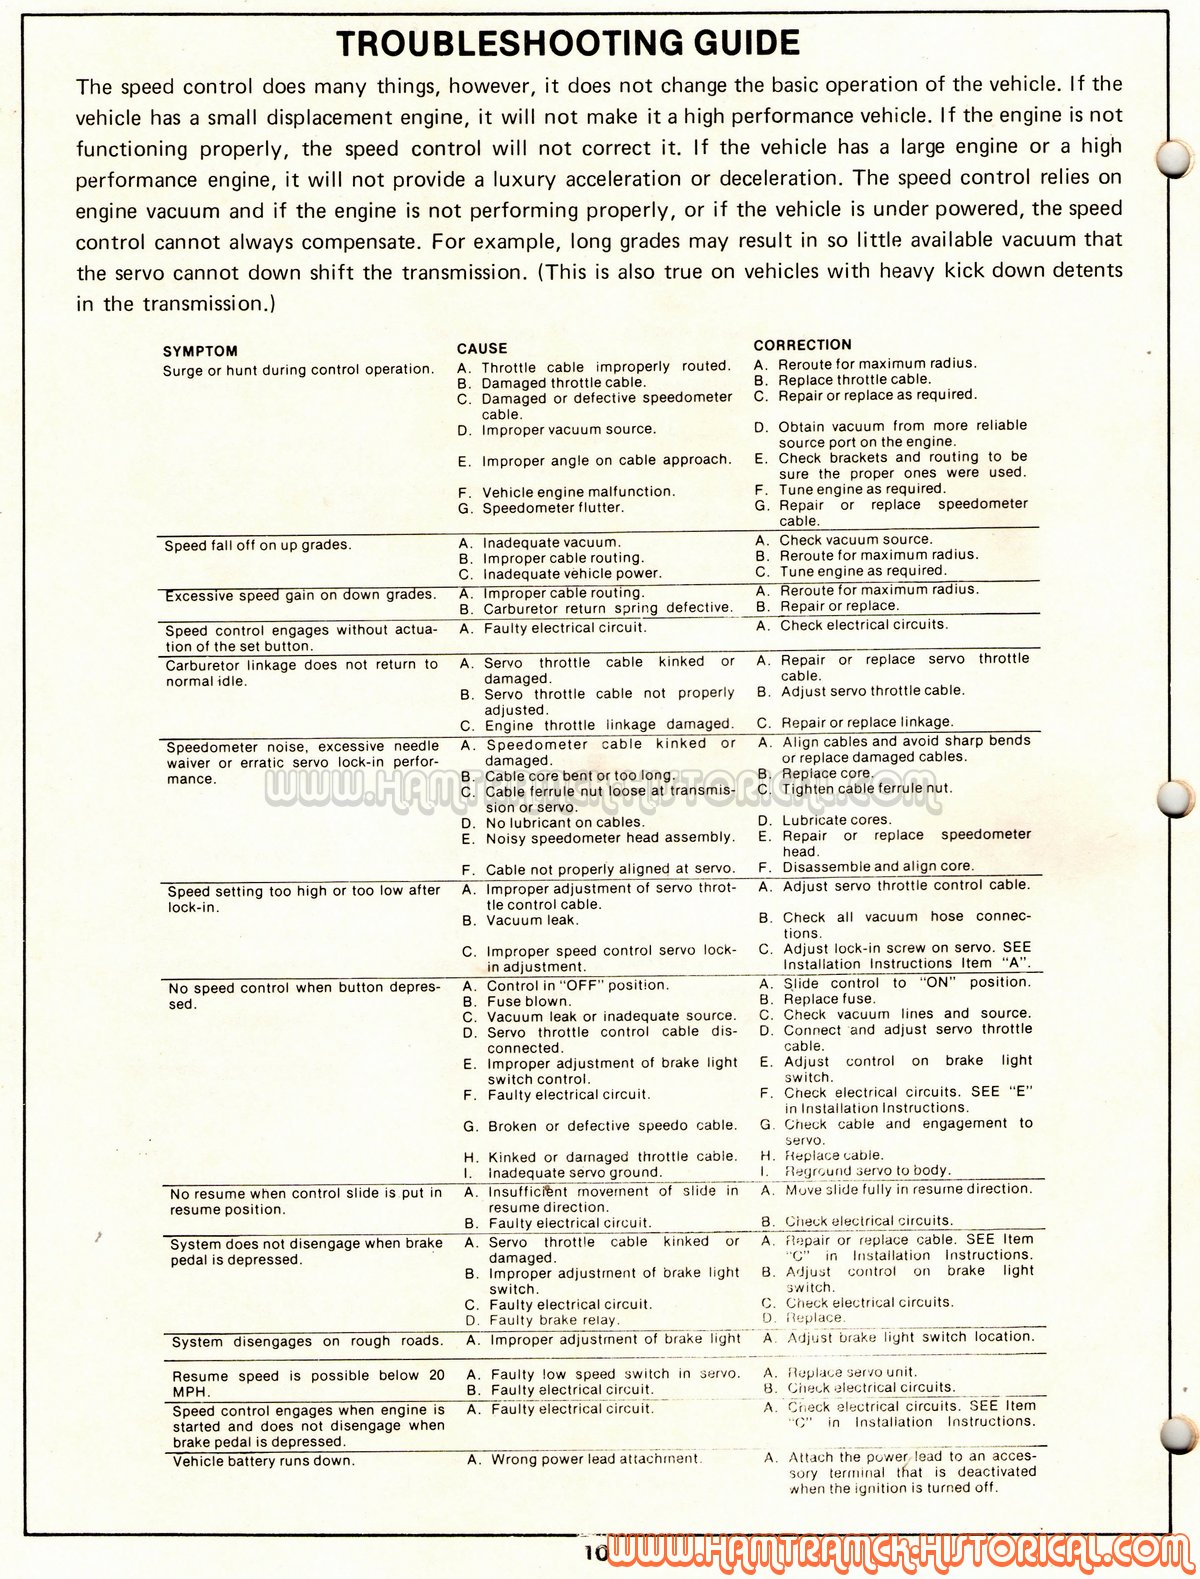
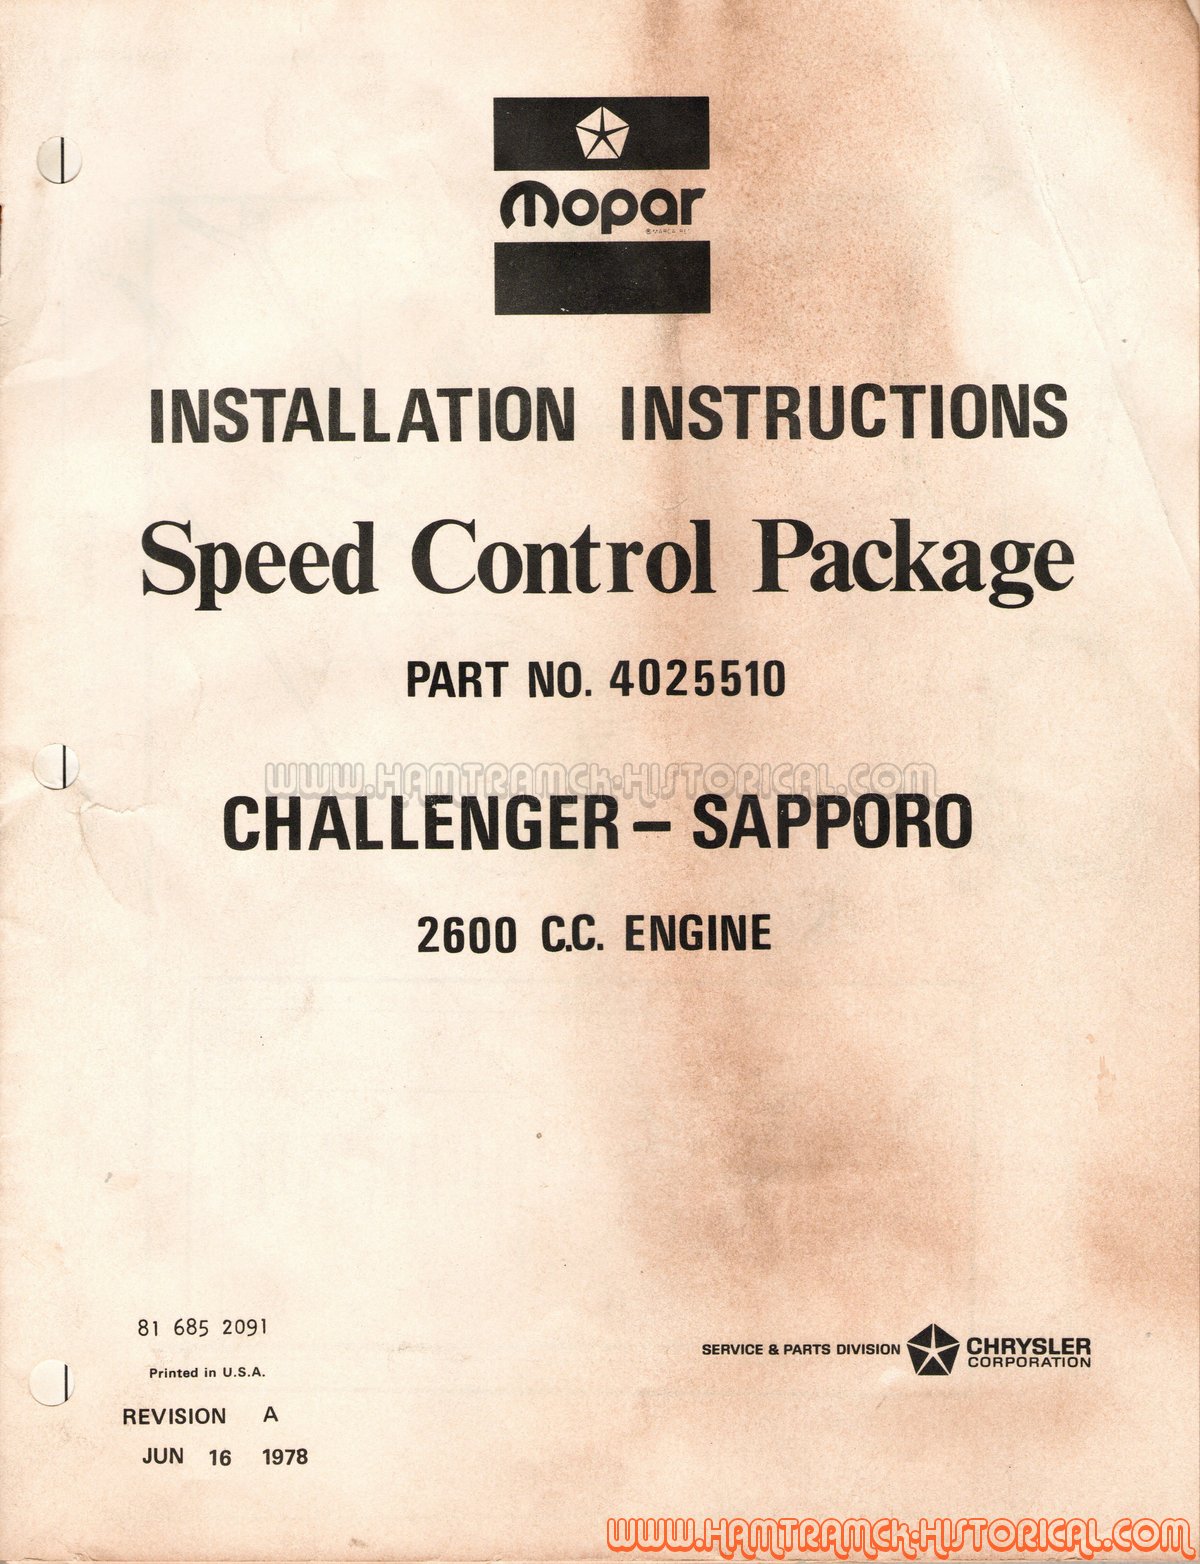
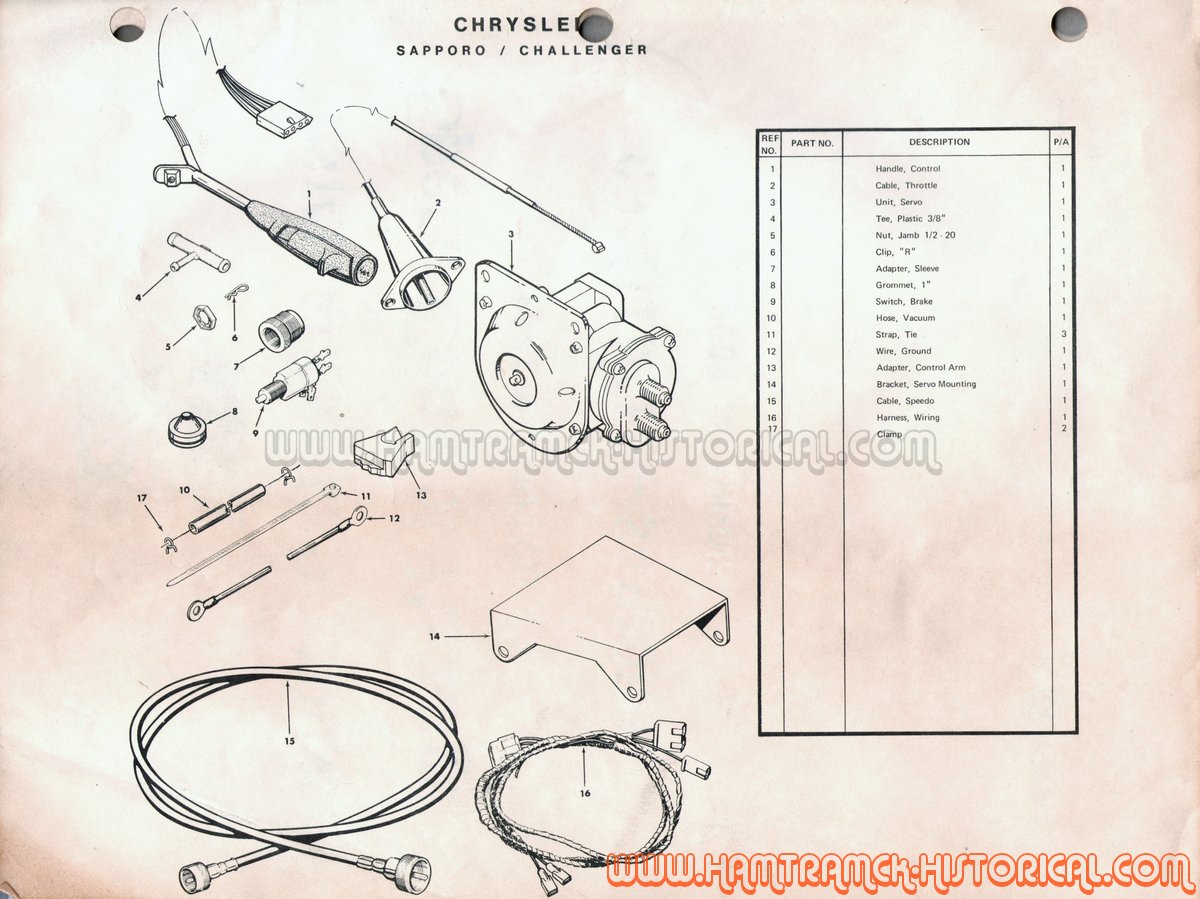
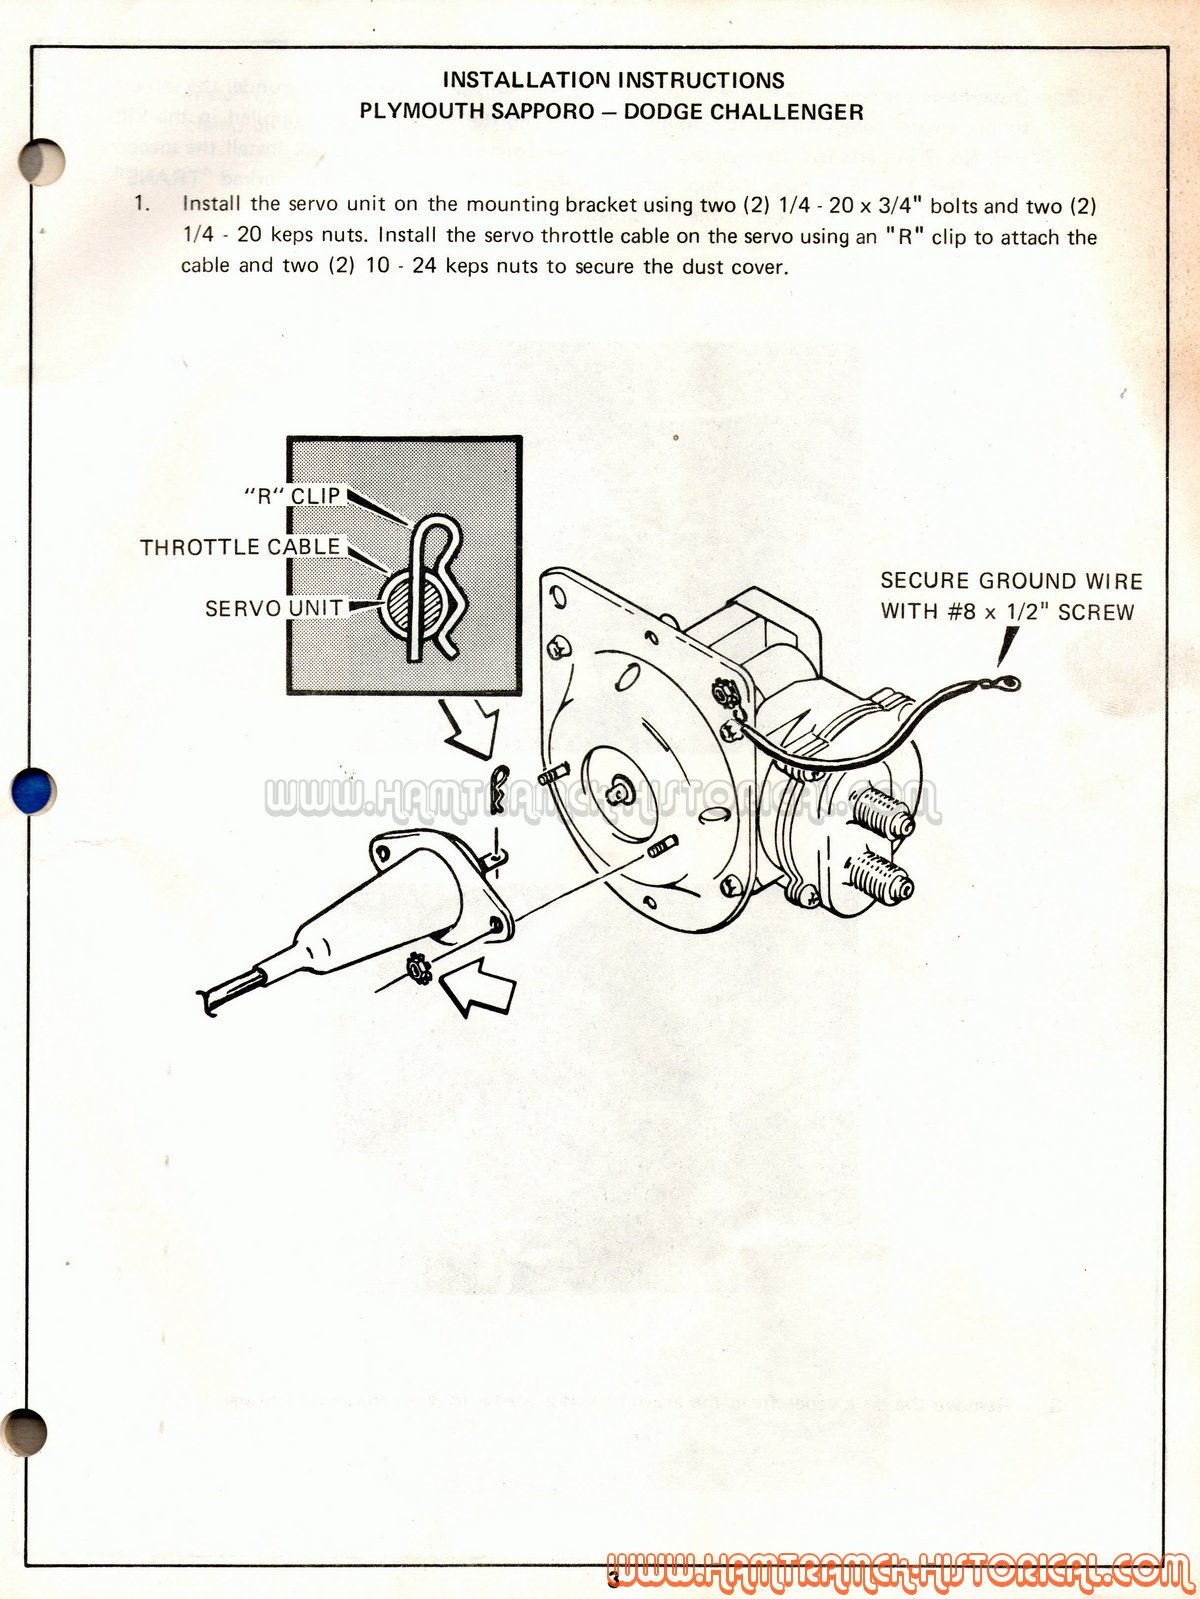
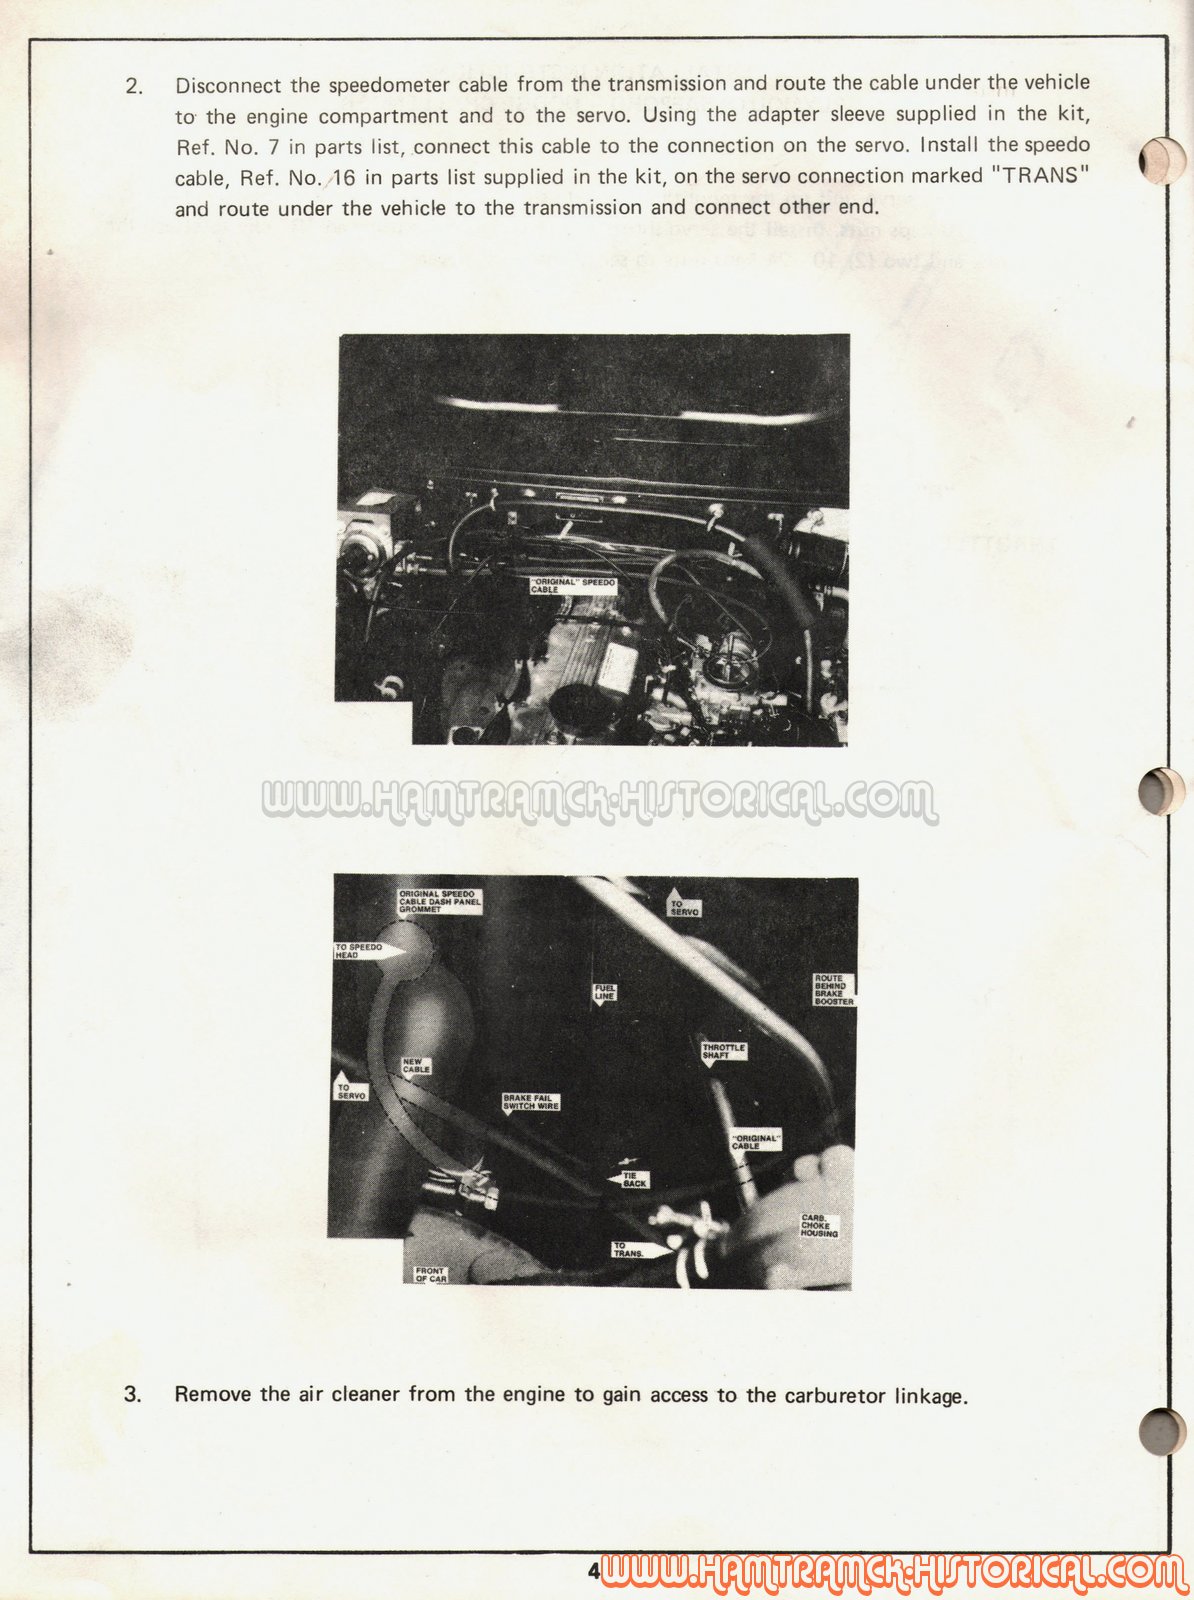
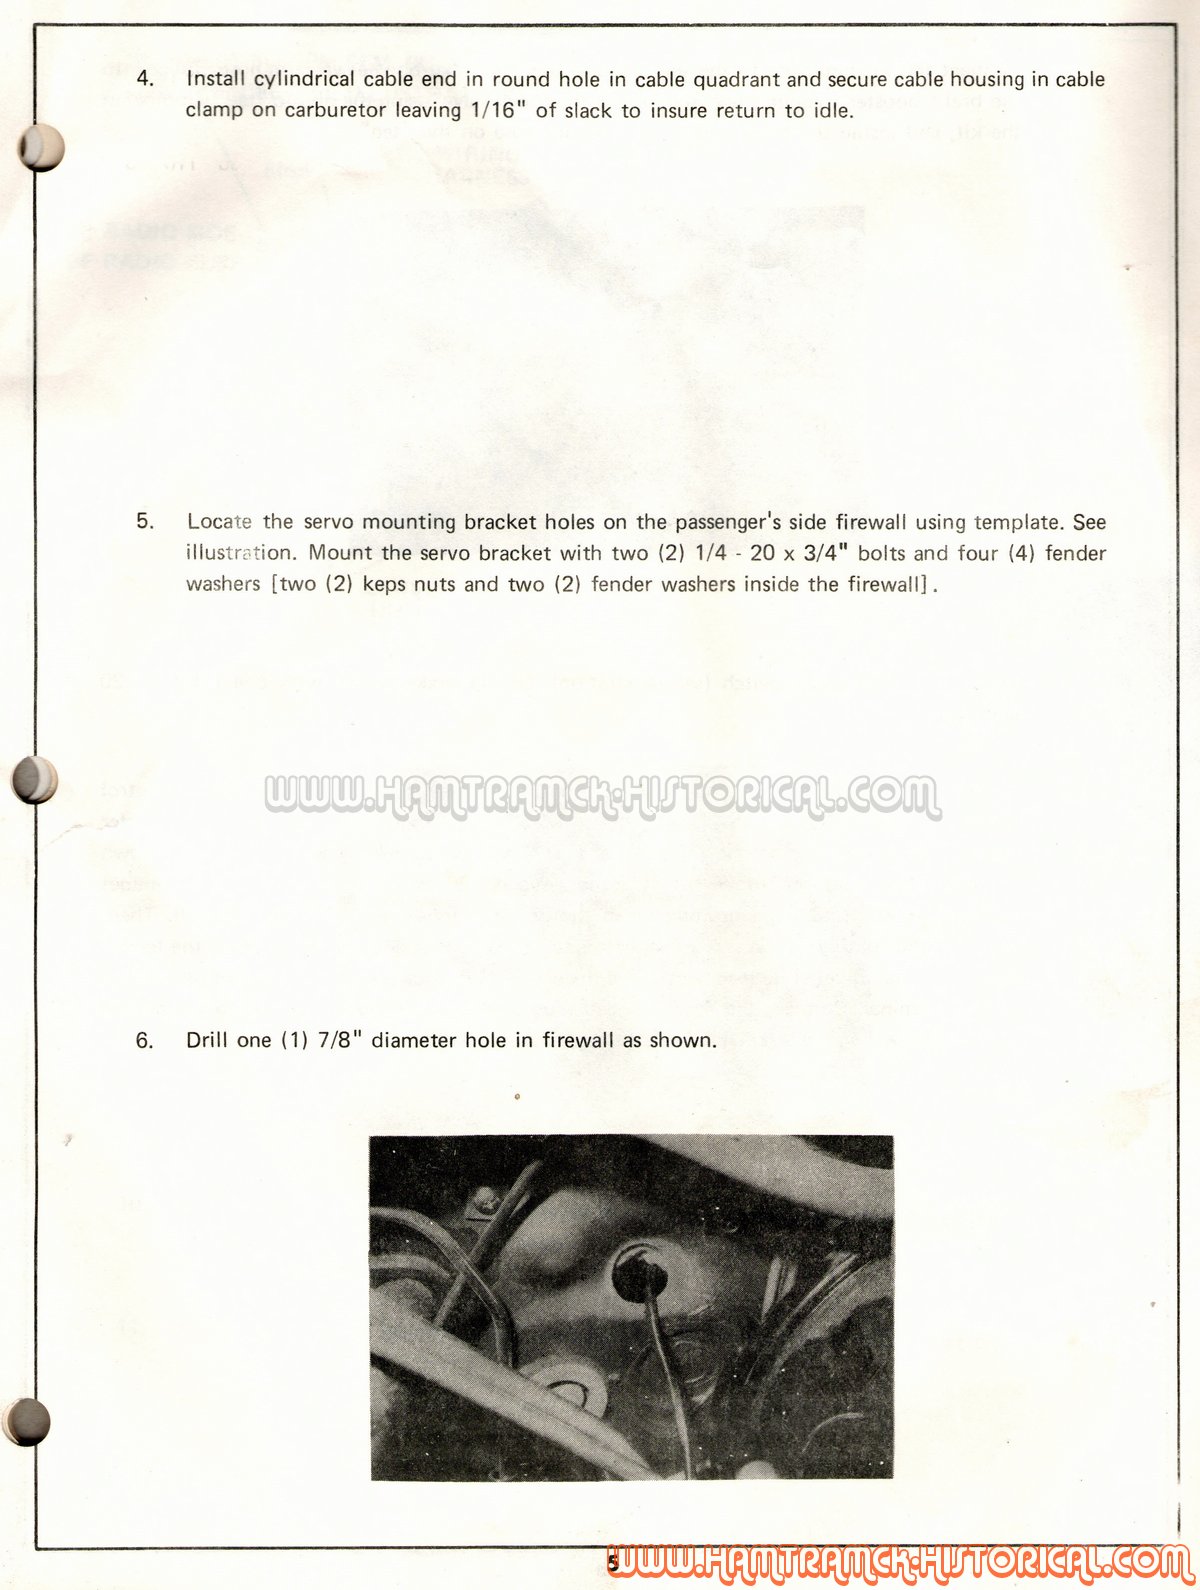
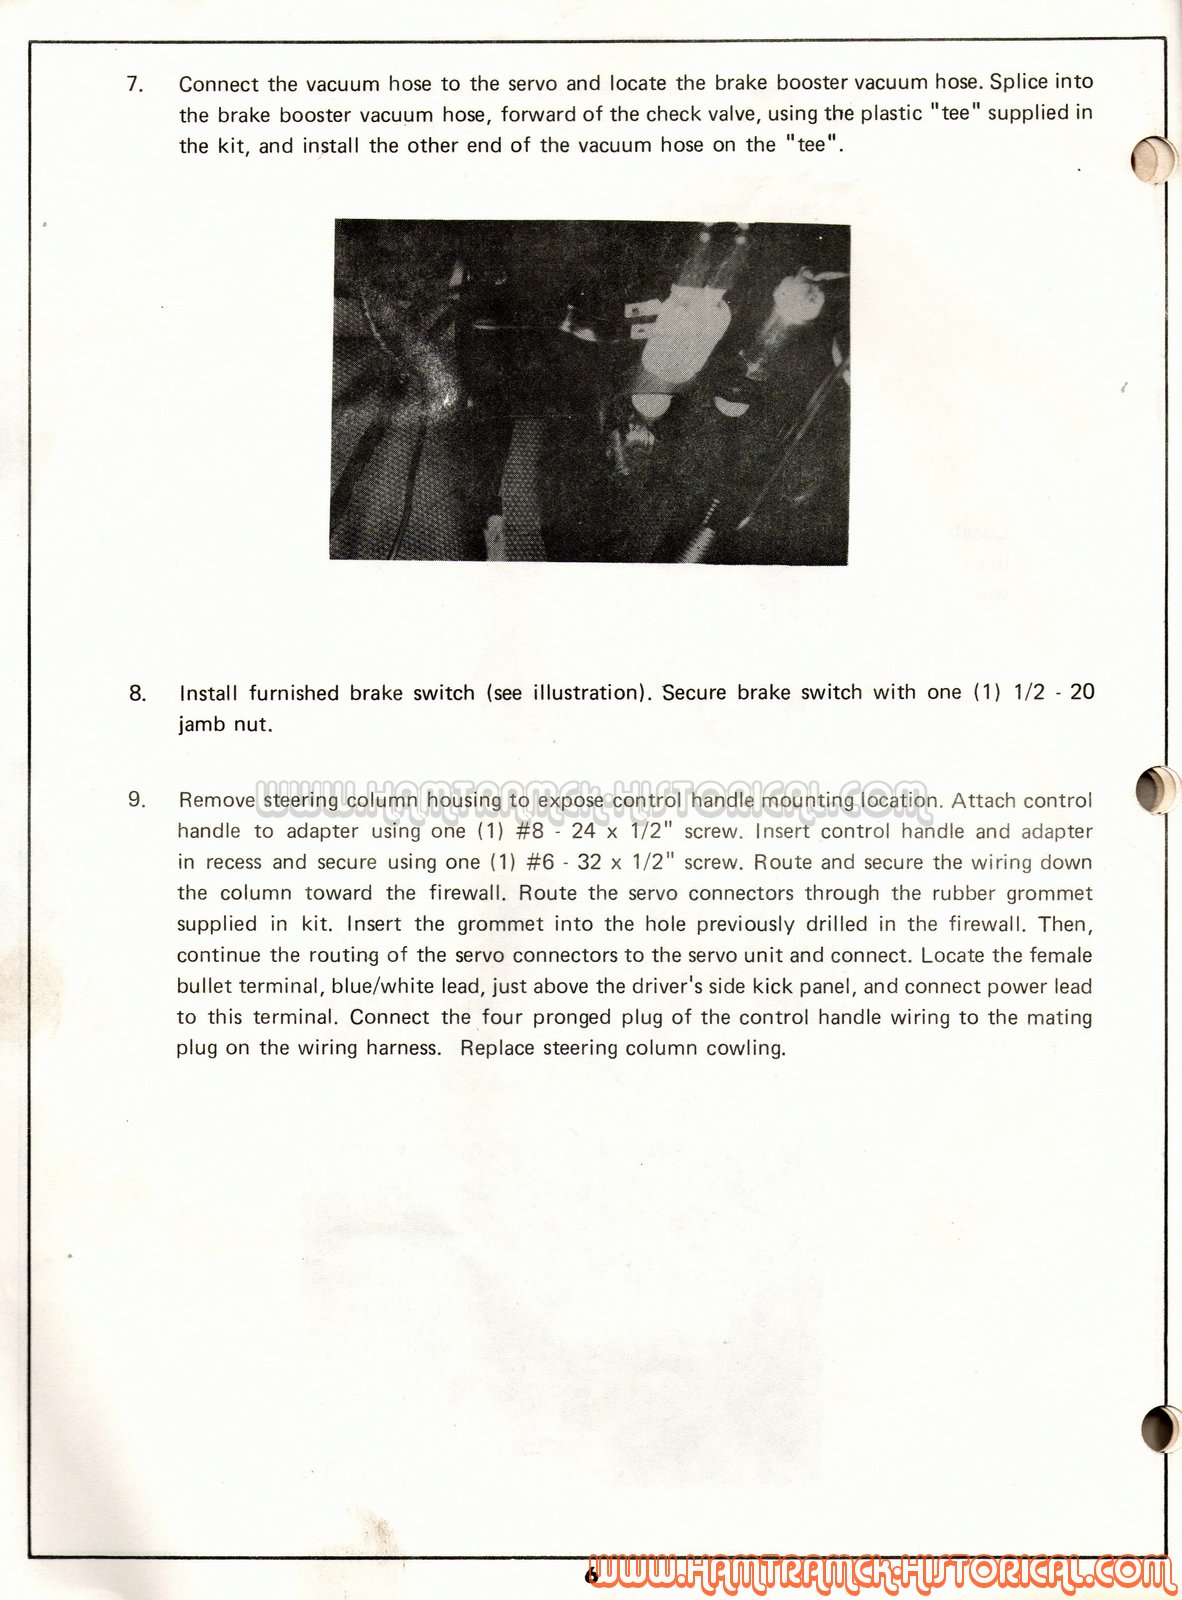
1978 Dodge Challenger & Mitsubishi Sapporo
1978 Dodge Challenger & Mitsubishi Sapporo - Revision A (June 16, 1978)